If you've been mixing Skratch, LMNT, Tailwind, or Liquid IV into your reservoir, you've already noticed the problem: that sticky film, the cloudy patches, the faint sweet smell that lingers no matter how hard you rinse. Knowing how to clean hydration bladder after electrolytes is the difference between a reservoir that lasts five years and one you toss in six months. The short answer: rinse with hot water immediately after every use, deep-clean weekly with a baking soda or denture-tablet soak, scrub the hose and bite valve with a dedicated brush kit, then freeze the dry bladder between hikes to prevent mold from ever taking hold.
Below is the full protocol I've refined across thousands of trail miles and dozens of bladder brands (Osprey, CamelBak Crux, HydraPak, Salomon, Platypus). It works on every reservoir I've tested and it scales from a casual day-hiker who uses a single tab of Nuun once a week to an ultra-runner cycling two bladders through training blocks of high-carb mix.
When shopping for how to clean hydration bladder after electrolytes, it pays to compare specs, capacity, and real-world runtime before committing.
Why electrolyte mix is harder to clean than plain water
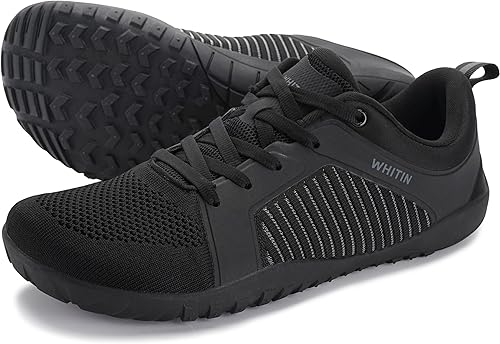
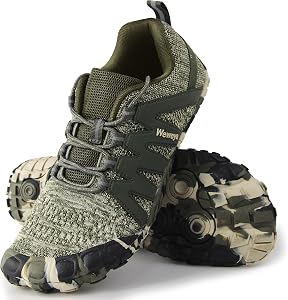
Top Picks


Plain water leaves behind almost nothing. Electrolyte powders, on the other hand, are engineered to dissolve completely and then bind to surfaces — that's what makes them absorb well in your gut. The same chemistry that helps your body grab the sodium and potassium also helps the residue grab the inside of your bladder. Three components do most of the damage:

- Sugars and maltodextrin (in Tailwind, Skratch, GU Roctane, SiS Beta Fuel) feed bacteria and mold within hours of being left in a warm pack.
- Citric acid (in Nuun, Liquid IV, LMNT) etches a slightly tackier surface into TPU bladder walls over time, giving residue more places to cling.
- Stevia, monk fruit, and flavor oils stain and impart that "phantom raspberry" taste that survives three rinses.
The upshot: a bladder that was used for plain water can be rinsed once and air-dried. A bladder used for electrolytes needs a real cleaning protocol, every single time.

The 5-minute post-hike rinse (do this within an hour)
This is the single most important step. Ninety percent of bladder problems start with a sweaty hiker tossing a half-full reservoir into the car, driving home, and dealing with it "tomorrow." Tomorrow is when biofilm starts.
- Empty whatever's left into the sink or a bottle for the dog. Don't leave a swallow at the bottom.
- Fill halfway with the hottest tap water you can get (around 120°F / 50°C). Cold water won't dissolve sugar residue.
- Add one drop of unscented dish soap. Dawn works. Anything more leaves a perfume taste you'll regret on your next run.
- Cap it, shake hard for 30 seconds, then prop the bite valve open over the sink and squeeze — you want hot soapy water blasting through the entire hose.
- Rinse twice with clean hot water, including a final hose flush.
That's the daily routine. It takes longer to describe than to do. If you finish a long run and you're too wrecked to do anything else, at least empty the bladder and flush the hose with cold tap water — that buys you 24 hours before the residue calcifies.
The weekly deep clean (do this every 4-7 uses)
Once a week, or after any back-to-back training days with high-carb mix, run a proper deep clean. You have three good options. Pick one based on what's in your kitchen.

Option 1: Baking soda + lemon juice (cheapest, works great)
Fill the bladder with hot water. Add 2 tablespoons of baking soda and the juice of half a lemon. The mild fizz lifts residue from the seams and corners where your fingers can't reach. Seal, shake, hang upside-down for 30 minutes with the hose clamp open so the solution sits in the line too. Rinse three times.
Option 2: Denture tablets (best for biofilm)
Drop two tablets (Polident, Efferdent, or any generic brand) into a full bladder of warm water. The peroxide and chelating agents are formulated to break down exactly the kind of protein-and-sugar biofilm that electrolyte mix leaves behind. Soak 20 minutes, agitate, drain through the hose, rinse twice. This is what I use after a 50-mile week.
Option 3: Diluted bleach (only if you smell mildew)
One teaspoon of unscented household bleach per liter of water. Soak 5 minutes — no longer. Rinse four times. Reserve this for rescue, not routine; repeated bleach exposure eventually clouds TPU.
Whatever you choose, follow with the brush step below. Solutions can dissolve residue but they don't physically remove biofilm that's already anchored.
How to clean the hose and bite valve (the part everyone neglects)
The hose is where mold actually starts. It's dark, it stays wet, and you can't see inside it. A $10 cleaning kit pays for itself the first time it saves a $40 reservoir.
You want three brushes: a wide bladder brush (looks like an oversized bottle brush), a long flexible hose brush, and a tiny bite-valve brush. Most kits from Osprey, CamelBak, and HydraPak include all three. Run them through with hot soapy water, paying special attention to:
- The bite valve internals. Twist the valve open if your model allows. Many Osprey and HydraPak valves disassemble — do it.
- The hose-to-bladder connector. O-rings here trap sticky residue. Pop the hose off, rinse the connector, brush the bore.
- The shut-off clamp. If yours has a magnetic or lever cutoff, work it open and shut under running water.
One pro tip from the trail-running world: keep a second hose. They're $8-15 and let you swap a fully dried hose into a freshly cleaned bladder. While bladder A is in your pack, hose B is drying.
Drying and storage — the step that prevents mold
This is where most people lose. A wet bladder zipped shut in a hot pack is a petri dish. Do these in order:
- Prop the bladder open. Use a clean wire whisk, a paper-towel roll, or a purpose-built bladder dryer. The goal is air circulation across every internal surface.
- Hang it upside down from the fill port with the hose draped down so gravity drains the line.
- Air-dry 24 hours minimum. Direct sunlight kills mildew spores but UV also degrades TPU — dry in indirect light or a well-ventilated room.
- Freeze it. Once fully dry, fold the bladder loosely (never crease the same spot twice) and slide it into a gallon zip bag in your freezer. Freezing stops any residual bacteria cold — literally — and the bag prevents freezer odors from migrating in. This is the single biggest mold-prevention trick I've ever found, and it costs nothing.
Pull the bladder out the morning of your next hike, let it warm for 10 minutes, fill, and go. A frozen bladder also helps your first hour of mix stay cold, which is a bonus on summer trail days.
Mold rescue: what to do if it's already there
Black or pink spots inside the bladder, or a smell that won't quit after a normal clean, means biofilm has anchored. Don't throw the reservoir out yet — try this sequence:
- Hot soak with denture tablets (four tablets, full bladder, two hours).
- Scrub everything reachable with the bladder brush — you should see flakes lift.
- Dilute bleach soak (1 tsp per liter, 10 minutes).
- Rinse five times. Smell it. If anything sweet or musty remains, repeat.
- If a 1mm dark spot stays after two rounds, the mold has penetrated the TPU layer. Replace the bladder. It's not worth the GI risk on a long backcountry trip.
What NOT to use
- Boiling water. It warps the seams and can crack the hose fittings. Hot tap is fine; off-the-stove is not.
- The dishwasher. Same issue. Even "top-rack safe" claims are aspirational — cycle after cycle, the heat shortens bladder life.
- Scented soap, vinegar in large doses, or essential oils. The flavor lingers for weeks. Citric acid in tiny amounts (lemon juice) is fine; a full cup of vinegar is overkill and tastes terrible.
- Steel wool or stiff brushes. They scratch the TPU and create more surface area for residue to grip.
- Storing damp. Worth saying twice. Damp + dark + warm = mold within 72 hours, every time.
A realistic weekly schedule
For a trail runner doing 4-5 sessions a week with electrolyte mix in every one:
- After each run: 5-minute hot-water-and-soap rinse, hose flush, hang to dry.
- Sunday night: Deep clean with denture tablets + brush kit.
- Monthly: Disassemble bite valve, inspect O-rings, replace hose if it's discolored on the inside.
- Between training blocks: Deep clean, full dry, freeze until next use.
For a weekend hiker who uses the bladder 2-4 times a month, the after-use rinse plus a deep clean before each storage cycle is enough. The freezer trick still applies.
Pairing your hydration setup with the rest of your kit
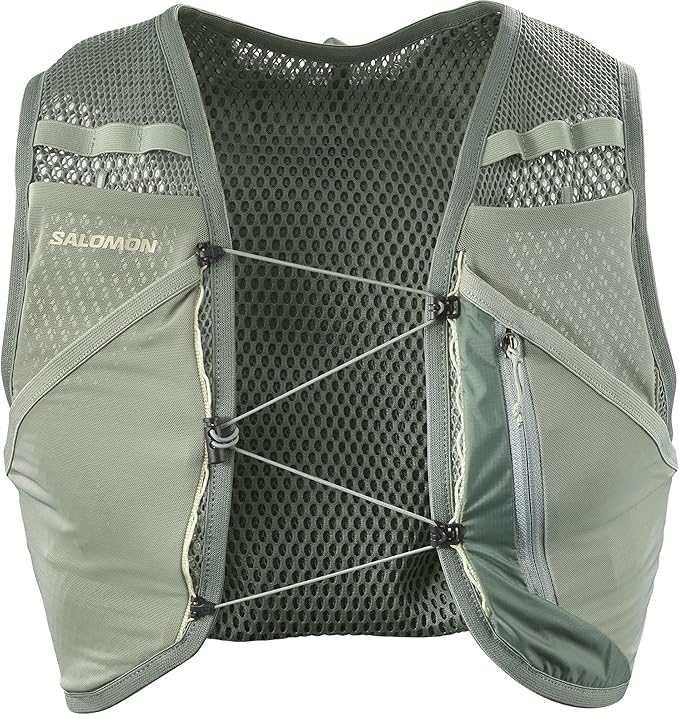
A clean bladder is one piece of a longer-lasting trail system. If you're auditing your gear in 2026, it's worth checking that your pack, poles, and filtration are all on the same maintenance rhythm. See our 2026 trail running vest guide for reservoir-compatible packs, our backcountry water filter comparison for the source-water side of the equation, and the backpacking essentials checklist for what should live permanently in your hydration pocket. If you're heading into steep terrain where you'll need both hands free to manage water on the move, our trekking pole buying guide pairs well with this protocol.
Frequently Asked Questions
How do you get the sweet taste out of a hydration bladder after using Tailwind or Skratch?
The sweet phantom-taste comes from sugar residue bonded to the TPU. A single rinse won't lift it. Soak with two denture tablets in hot water for 30 minutes, scrub with a bladder brush, then do a second soak with baking soda and lemon juice. Rinse four times. If the taste persists, the hose is usually the culprit — swap or deep-brush it.
Can you put a hydration bladder in the freezer to prevent mold between uses?
Yes, and it's the most underrated trick in the hydration-pack world. Once the bladder is fully dry, fold it loosely into a gallon zip bag and freeze it. Bacterial and mold growth is impossible below freezing, and the dry-then-freeze sequence keeps the reservoir factory-fresh between hikes. Just thaw 10 minutes before filling.
How often should I deep clean my hydration bladder if I only use plain water?
Plain-water-only bladders can go 2-4 weeks between deep cleans as long as you rinse and air-dry after each use. The moment you add any electrolyte powder, drop mix, or sports drink, the schedule tightens to weekly. Sugar and citric acid are the accelerants.
Is it safe to use bleach to clean a CamelBak or Osprey bladder?
Diluted bleach (1 teaspoon unscented household bleach per liter of water, 5-10 minute soak) is approved by both CamelBak and Osprey for occasional rescue cleaning. Avoid making it routine — repeated bleach exposure clouds TPU and can degrade the bite valve seal. Rinse a minimum of four times after any bleach soak.
Why does my hydration hose taste like plastic even after cleaning?
New hoses outgas mild plasticizers for the first few uses — run two cycles of hot water with a tablespoon of baking soda through it before your next hike. If an older hose suddenly tastes like plastic, it's usually heat damage from being left in a hot car; replace the hose, not the whole bladder.
Can mold inside a hydration bladder make you sick?
Yes. Mold and biofilm in a bladder can cause GI upset, nausea, and in rare cases more serious infection. If you see visible black or pink colonies that don't lift after two deep cleans, retire the bladder. A $35 reservoir is cheaper than a ruined backpacking trip or a doctor's visit.
What's the best way to dry a hydration bladder quickly before a same-day hike?
Stuff a clean dry kitchen towel inside to wick moisture, prop the opening wide with a whisk or paper-towel tube, and aim a fan at it. Most bladders go from rinsed to usable in about an hour this way. For the hose, swing it like a jump rope to centrifuge water out, then blow through it once with a clean breath — yes, really.
Should I replace my hydration bladder every year?
No — a well-maintained bladder lasts 3-5 years. Replace when you see persistent staining that won't lift, cracks at the fill-port seam, a hose that tastes plasticky even after cleaning, or any mold colony that survives two deep cleans. Hoses and bite valves are wear items and should be replaced annually if you train heavily with electrolyte mix.
Key Takeaways
- Choosing the right how to clean hydration bladder after electrolytes means matching capacity and output ports to your actual devices
- Always check actual watt-hours (Wh), not just watts — runtime depends on Wh, not peak output
- Also covers: hydration bladder mold prevention
- Also covers: cleaning bladder after Tailwind
- Also covers: Camelbak electrolyte residue
- Compare price-per-Wh across models to find the best value for your budget