To use trekking poles for river crossings, plant both poles upstream of your body as a stable tripod with your two feet, lean lightly into the current at roughly a 30-degree angle, and shuffle sideways one limb at a time so three of your four contact points always stay locked on the riverbed. Set pole length 5-10 cm longer than your normal hiking setting so you can probe into deeper channels without overextending, switch to bare carbide tips for maximum bite on submerged rock, and unclip your pack hipbelt and sternum strap before you step in. The poles act as outriggers that break up current pressure on your legs and give you instant feedback about loose cobble or sudden drop-offs you cannot see through silty water.
Why trekking poles change the math of fording a stream
Top Picks


Moving water exerts force that scales with the square of velocity, which means a knee-deep current at 2 m/s pushes roughly four times harder than the same depth at 1 m/s. Two unweighted legs are a wobbly base; add two long aluminum or carbon levers angled into the current and you suddenly have four points of contact, a wider footprint, and a way to test depth before committing weight. Poles also let you redirect torque. When a boulder shifts under your downstream foot, the upstream pole catches the fall instead of your hip. For thru-hikers and trail runners who routinely encounter unbridged streams in the Sierra, Cascades, Wind Rivers, or Scottish Highlands, a confident pole technique is the single biggest skill margin between a casual splash and a swim. See our companion piece on choosing trekking poles built for wet, abrasive use for more on materials that survive repeated submersion.
Read the water before you step in
The crossing starts on the bank, not in the river. Walk 50-100 m up and down the shoreline and scout for the widest, shallowest braid. Wide water is almost always slower water, even when it looks longer on the map. Avoid the inside of bends (deceptive depth on the outside), avoid V-shapes pointing downstream (those mark submerged rocks creating dangerous hydraulics), and avoid stretches where the river necks down between boulders because velocity spikes there. Glassy, smooth surfaces over knee depth indicate fast deep water; riffled, white-flecked surfaces usually mean shallower water tumbling over gravel. Glacial and snowmelt streams in 2026 are running peak between roughly 2 pm and 6 pm in most North American mountain ranges, so an early-morning crossing of the same stream can be half the volume. Identify your exit on the far bank before you enter, and pick a backup exit 30-50 m downstream in case you slip. Never cross above a strainer (log jam), waterfall, or rocky chute, since a swim there has nowhere safe to end.
The best how to use trekking poles for river crossings for your situation depends on how you plan to use it and where.
The upstream pole-plant technique, step by step
Once you have picked your line, the actual crossing is a slow, deliberate sequence. Face slightly upstream so your body angles like the prow of a boat splitting the current.
1. Plant both poles upstream first. Drive them into the bed about shoulder-width apart and a long arm's reach in front of you, angled so the shafts lean into the flow. Test that each pole is wedged against rock or sunk into gravel, not balanced on a wobbly cobble.
2. Confirm the tripod. You should now have two poles upstream and two feet downstream, forming a stable four-point platform. Three of those points stay loaded at all times throughout the crossing.
3. Move one limb at a time. Lift your upstream foot first and shuffle it 20-30 cm sideways toward the far bank. Reset it, weight it, then move the downstream foot to meet it. Now move one pole, then the other. Never lift two points simultaneously, and never cross your feet.
4. Lean lightly into the poles, not the water. Push your weight into the upstream poles so the current pins you against them rather than ripping you off them. If the river starts pushing the poles, drive them in deeper and shorten your stance.

5. Watch the far bank, not the water. Staring at moving water creates vertigo. Fix your eyes on a tree or rock on the opposite shore and let peripheral vision and pole feedback handle the riverbed.
6. If you fall, ditch the pack and swim feet-first downstream. Point toes up to fend off rocks, backstroke to your pre-scouted exit, and keep the poles only if their straps slip off easily. Wrist loops should be off your hands the entire crossing for exactly this reason.
Adjust your poles before you ford
A normal hiking length puts pole grips at elbow height with the tip on flat ground. For a crossing, extend each section 5-10 cm so you can reach the bed of a thigh-deep channel without pitching forward. Lock both flick-locks firmly; a section that telescopes into itself under load will dump you in the current. If you run twist-lock poles, snug them aggressively before stepping in, because cold water and wet hands make it nearly impossible to tighten them mid-stream. Pull the rubber tip protectors off and stash them in a hipbelt pocket so the carbide can bite directly into rock and gravel. Take your hands OUT of the wrist straps. This is the single most important adjustment of all. A pole that catches between two rocks while your hand is still strapped in will torque your wrist or pull you under. Free hands let you release a pole instantly and swim.
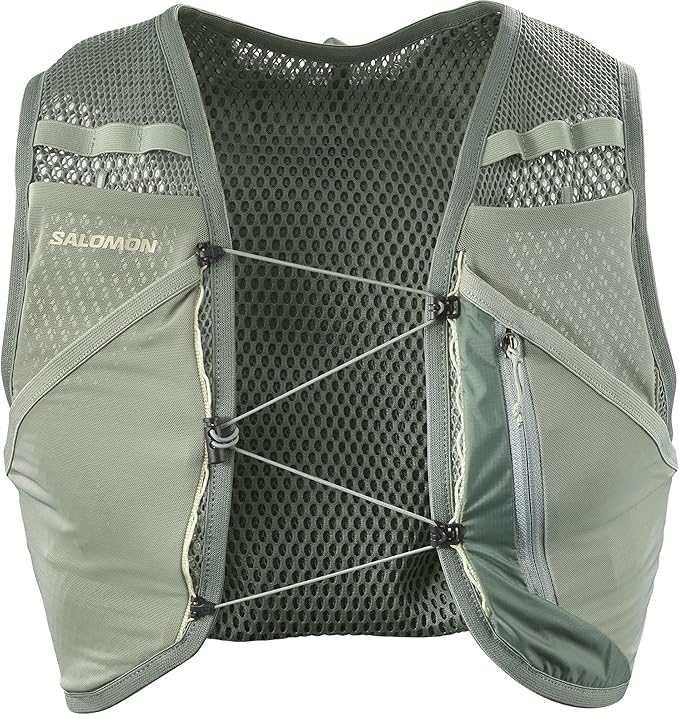
Pack, shoes, and clothing prep that pairs with the poles
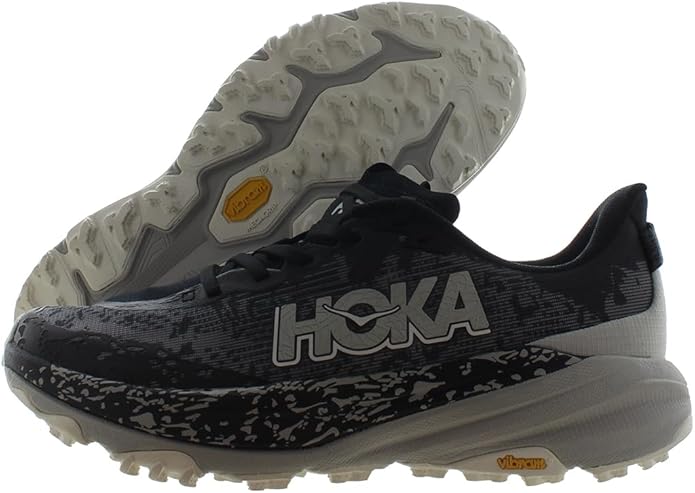
Unbuckle your hipbelt and sternum strap before entering the water. If you go in, you need the pack off your back in two seconds, not thirty. Loosen shoulder straps a notch. Keep your shoes on (camp sandals and bare feet invite cuts and rolled ankles on slick rock), but pull off gaiters and unzip side vents on rain pants so water drains freely on the far side. Move electronics, sleeping bag, and down layers into a sealed dry bag inside the pack, not just trusting the pack's rain cover. Trail running shoes with mesh uppers and aggressive lugs drain fastest; see our drainage and blister-prevention guide for what to do once you reach the far bank.
Best trekking poles for river crossings in 2026
Not every pole is built for repeated submersion in cold, abrasive, silt-laden water. The three picks below all hold up to the abuse and give you the leverage and grip needed for confident fords. The table compares the trade-offs at a glance.
| Pole | Material | Lock type | Grip | Best crossing use |
|---|---|---|---|---|
| Nordic Lightweight 7075 Aluminum | 7075 aluminum | Flick-lock | EVA foam | Heavy current, packrafting approaches |
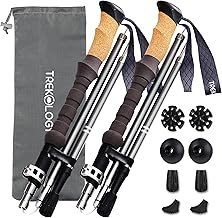
| TREKOLOGY Trek-Z Cork Grip Folding | 7075 aluminum (Z-fold) | Push-button + flick | Natural cork | Fastpacking, frequent shoulder-to-stream transitions |
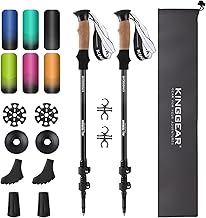
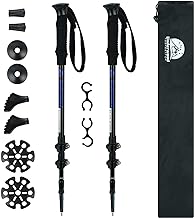
| Collapsible Aluminum 2-Pack | Aluminum alloy | Flick-lock | EVA foam | Budget pair for partner crossings or loaners |
Nordic Lightweight 7075 Aluminum Trekking Poles
The 7075 aluminum shaft is roughly 25 percent stronger than the 6061 alloy found in budget poles, which matters the moment a current wedges your pole between two boulders. The flick-locks hold under sustained side-load, and the foam grips do not get slippery when soaked the way some rubber-coated handles do. For deep, fast crossings in places like the Sierra in peak melt, this stiffness is exactly what you want. Check current price on Amazon.
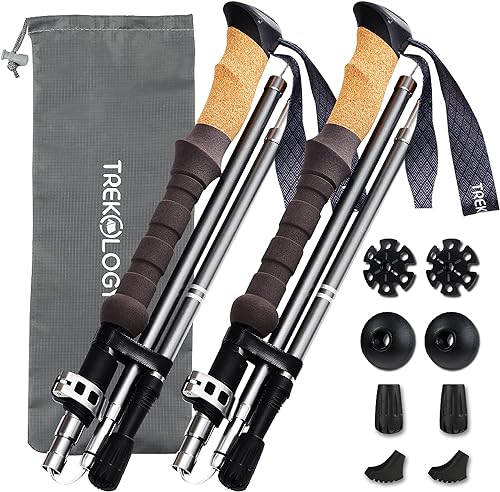
TREKOLOGY Trek-Z Cork Grip Folding Trekking Poles
The Z-fold design collapses to roughly 15 inches, which matters for trail runners and fastpackers who stow poles on their pack between crossings. Cork grips win in wet conditions because they actually improve traction as they absorb moisture and conform to your hand, unlike rubber that turns into a wet bar of soap. The combined push-button plus flick-lock system is fast to deploy on the riverbank. Check current price on Amazon.
Collapsible Aluminum Trekking Poles, 2-Pack
A two-pack is the right call if you are coaching a less-experienced partner across a stream or want a backup pair stashed in a basecamp tote. Two pairs also let you build a four-pole "hand-line" technique between two hikers on an exposed crossing, where the upstream hiker plants two poles and the downstream hiker plants two more, doubling stability. Check current price on Amazon.
Crossing mistakes that turn dangerous fast
The patterns behind most fording incidents repeat. Crossing with the hipbelt buckled turns a stumble into a full submersion because the pack pins you face-down. Stepping on visibly mossy or algae-coated rocks is a guaranteed slip; aim for sand, gravel, or dull-colored stone. Trusting a downed log as a bridge is statistically worse than wading, since wet bark sheds you sideways into the deepest, fastest channel. Crossing solo above class III whitewater or any horizon line where you cannot see what is below is a known recipe for fatal swims. And finally, refusing to turn around. If the water is above mid-thigh, moving faster than walking pace, or carrying visible debris, the correct decision is to camp, wait until the dawn low-flow window, or find another crossing miles upstream. Knowing how to use trekking poles for river crossings is a tool, not a license to enter dangerous water.
Frequently Asked Questions
Should I face upstream or sideways when crossing a river with trekking poles?
Face slightly upstream, roughly 30-45 degrees off the line of travel, so the current splits around the side of your body rather than hitting your back or chest squarely. A pure sideways stance presents your full profile to the flow and increases drag. A pure upstream-facing stance makes lateral shuffling awkward. The diagonal split-the-bow position is the sweet spot used by swiftwater rescue professionals.
How deep is too deep to ford with trekking poles?
Mid-thigh is the practical limit for most solo hikers in moderate current (under 1.5 m/s). Above that, buoyancy starts lifting your feet off the bed and the poles can no longer keep you anchored. In fast, opaque, snow-fed water, knee-deep is already serious. If you cannot see your boots through the water column, treat depth assessments as guesses and downgrade your threshold accordingly.
Are folding Z-poles strong enough for river crossings?
Yes, provided the internal Kevlar or steel cord is in good condition and the locking joints are fully seated. Modern 7075-aluminum Z-poles from reputable brands like TREKOLOGY, Black Diamond, and Leki are tested to bracing loads well beyond what current pressure imposes. Inspect the cord for fraying once a season and replace any pole where the joints feel sloppy.
Should I use one trekking pole or two for stream crossings?
Two, always, if you have them. A single pole is better than no pole, but two poles create a true tripod with your feet and let you move one point at a time while three stay loaded. A single pole forces you to lift one of your only two stable contacts to advance, which doubles the chance of a slip mid-current.
Do I need carbide tips or are rubber tips fine for river crossings?
Remove the rubber tip protectors and use bare carbide. Rubber tips skate on wet rock; carbide bites into algae-coated stone and gravel with vastly more purchase. Stash the rubber covers in a pocket and re-install them on the far bank before continuing on dry trail to reduce wear and noise.
What length should I set my trekking poles to for fording?
Extend each pole 5-10 cm longer than your normal hiking length. This lets you probe ahead into deeper water without leaning forward and losing balance, and keeps your hand position comfortable when the riverbed drops 20-30 cm unexpectedly. Lock both flick-locks firmly and double-check before stepping in.
Should I keep my pack hipbelt buckled when crossing a river?
No. Unbuckle the hipbelt and the sternum strap before entering the water, and loosen the shoulder straps a notch. If you fall, you must be able to shed the pack in seconds; a buckled hipbelt will hold the pack on your back, fill it with water, and pin you face-down. See our backpack loading guide for how to position dry bags so critical gear stays sealed even if the pack briefly submerges.
Key Takeaways
- Choosing the right how to use trekking poles for river crossings means matching capacity and output ports to your actual devices
- Always check actual watt-hours (Wh), not just watts — runtime depends on Wh, not peak output
- Also covers: trekking poles stream fording technique
- Also covers: safe river crossing with hiking poles
- Also covers: pole technique for swift water crossing
- Compare price-per-Wh across models to find the best value for your budget